Mason Jar to Polyurethane Foam Background: A Vivarium Upgrade Guide
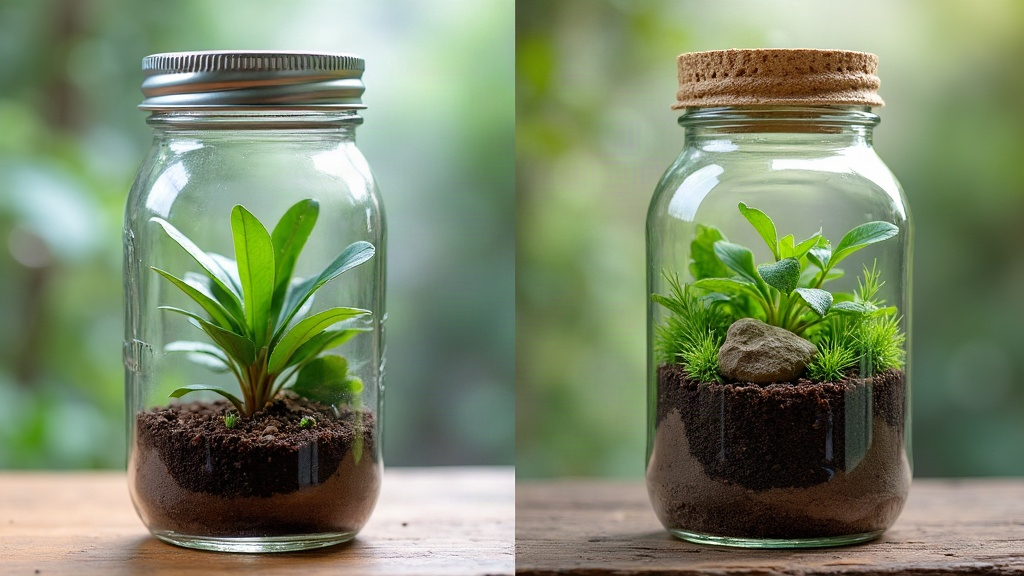
If you started your bioactive journey with a simple mason jar terrarium, you’ve probably already bumped into its limits. Flat walls, zero climbing structure, nowhere for roots or moisture-loving plants to grab onto. Upgrading to a custom polyurethane foam background fixes all three problems in one move, turning a cute starter jar into an actual micro-ecosystem with vertical planting space, tighter humidity control, and a look that feels genuinely natural instead of staged. Here’s exactly how to make that jump.
Why Mason Jars Hit a Ceiling Fast
Mason jars are a great entry point. Cheap, watertight, easy to find at any hardware store. But as a long-term enclosure, they run out of road fast:
- No vertical real estate. Glass walls are too smooth for moss, ferns, or epiphytic orchids to grip onto.
- Poor microclimate control. Flat surfaces can’t create the humidity gradients that separate wet zones from dry ones.
- Limited aesthetics. Without texture, a jar reads more like a science experiment than a living landscape.
- Restricted livestock options. Dart frogs, isopods, springtails, all of them do better with more surface area and more hiding spots than a smooth jar can offer.
A foam background solves every one of these at once.
What Is a Polyurethane Foam Background?
It’s a carved, textured panel made from expanding polyurethane foam, sealed with a waterproof, non-toxic coating (think silicone plus substrate, or a dedicated aquarium/terrarium sealant), then shaped to look like rock, bark, or cave wall. Once cured, it becomes a permanent planting surface inside your enclosure, and when it’s done correctly, it’s perfectly safe for amphibians, reptiles, and invertebrates.
Step-by-Step: Making the Upgrade
1. Choose the Right Container First
Before you build anything, check that your jar or enclosure actually has the depth for it. Foam backgrounds generally need at least 1-2 inches (2.5-5 cm) of clearance from the front glass, otherwise you’ll crowd out your plants and animals. If your current jar is too shallow, this is your cue: graduate to a proper front-opening terrarium or vivarium tank. Honestly, most hobbyists treat this as the natural transition point anyway.
2. Select Aquarium-Safe, Low-VOC Foam
Not all polyurethane foam is created equal, and this is not the place to grab whatever’s cheapest at the hardware store. Look for:
- Low-VOC, aquarium-safe formulas (often labeled for pond or reptile use)
- Expanding foam in a can, which sculpts far more easily than spray foam meant for insulation gaps
- Skip anything with added fire retardants or mystery additives. In a closed, humid environment, those can leach toxins right into your enclosure.
3. Sculpt and Cure
Apply the foam in layers, not one thick blob. It expands a lot more than you’d expect, and thick applications tend to crack. Once it reaches that rubbery-firm stage (usually 1-2 hours in), carve your texture with a utility knife or heat gun before it fully hardens. Then leave it alone. Let it cure fully for 24-48 hours, no shortcuts.
4. Seal It Properly
This step is non-negotiable for animal safety, full stop. Coat the cured foam with 100% silicone (no mold inhibitors, no additives) and press your substrate (coco fiber, sphagnum moss, fine soil) into the wet silicone. This gives you a natural-looking, plant-friendly surface while fully encapsulating the foam so nothing underneath is exposed or, worse, ingestible.
5. Plant and Integrate
Once sealed and dry (give it another 48 hours to off-gas, don’t rush this part either), tuck epiphytes, mosses, or small ferns into the pockets and crevices you carved earlier. Want the background to double as a functional drainage wall? Add a trickle or misting system now.
Common Mistakes to Avoid
- Skipping the sealant layer. Raw foam is porous and will mold or break down over time, no exceptions.
- Building the background before confirming it fits. Always dry-fit first. Always.
- Using spray foam with fire retardants. Read the label twice if you have to.
- Rushing cure time. Uncured foam can still off-gas chemicals that are genuinely harmful, especially to amphibians.
Is It Worth the Upgrade?
For anyone serious about bioactive setups, yes, without a doubt. A foam background turns a flat, two-dimensional jar into a layered habitat with more room for plant diversity, better humidity zones, and conditions that are just healthier for whatever’s living in there. It also looks a lot more polished, which matters if you’re working toward breeding projects or putting your setup on display.
Final Thoughts
Moving from a basic mason jar to a custom polyurethane foam background is one of the clearest signs you’ve crossed over from casual hobbyist to serious vivarium builder. Take your time with the sealing and curing stages. Rushing this part is the single most common, and riskiest, mistake beginners make. Get it right, and your new background will outlast several generations of livestock, giving your plants all the room they need to actually thrive.