Upcycle a Leaky Vintage Fish Tank into a Bioactive Terrarium
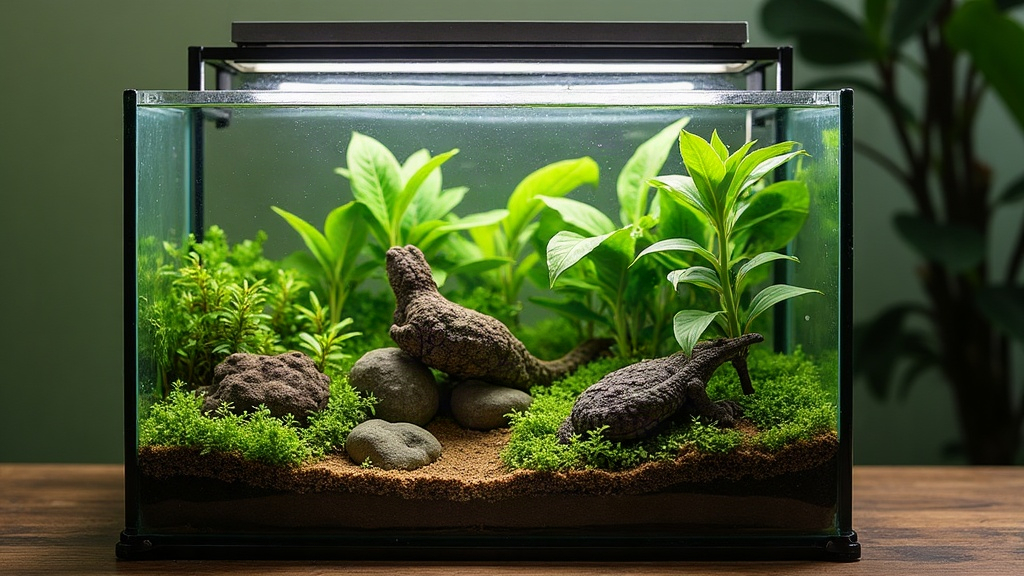
That cracked, leaky vintage fish tank sitting in your garage isn’t trash. It’s a free terrarium shell waiting for a second life. With the right prep, sealing technique, and bioactive layering, you can safely turn it into a thriving, self-cleaning habitat for reptiles, amphibians, or invertebrates. You save money, and you keep a decent piece of mid-century glasswork out of a landfill somewhere.
Why a Leaky Tank Still Works for a Terrarium
A tank leaks for pretty boring reasons, usually: degraded silicone seams, a hairline crack in the glass, or a warped frame that never quite sat flush. None of that matters once you’re holding dry or semi-moist substrate instead of forty gallons of water pressing against the seams. Reptile terrariums don’t need to hold a full water column, so a tank that would fail as an aquarium is often completely fine for a terrarium after a few targeted fixes.
That said, safety and chemical cleanliness come first, always. Vintage tanks sometimes carry baggage you can’t see at a glance:
- Old metal frames (pre-1980s) that may contain lead solder or plain old rust
- Degraded silicone that can harbor mold or bacteria in the gaps
- Unknown residue from decades of use, things like old medications, algaecides, or metal decorations left to corrode
Skipping the inspection step is the single most common mistake hobbyists make here. Don’t be that person.
Step 1: Inspect and Decontaminate
- Remove all old silicone, trim, and hardware. A razor blade scraper handles this well on glass.
- Check the frame metal with a quick wipe test, or a lead-test swab if the tank predates 1980. Takes two minutes and tells you a lot.
- Wash the entire tank with a 5% bleach solution (1 part bleach to 20 parts water), rinse thoroughly, then let it air-dry for a full 48 hours. Bleach residue is toxic to reptiles, so don’t rush this part just because you’re excited to get planting.
- Inspect glass seams and the base under bright light. Cracks that only face glass-only pressure (no water weight behind them) are usually fine for terrarium use.
Step 2: Reseal for Structural Integrity
Even a dry terrarium benefits from a fresh bead of food-safe aquarium silicone along the interior seams:
- Use 100% silicone sealant labeled aquarium-safe (skip kitchen or bathroom silicone with added anti-fungal agents, these are toxic to reptiles).
- Apply a thin, even bead along each interior seam, smoothing it with a gloved finger.
- Cure for a full 7 days in a ventilated area before adding substrate or animals. Yes, the package probably says 24 hours. Ignore that. Reptile skin is far more sensitive to off-gassing than ours, and a week costs you nothing.
If the glass itself is cracked, not just the seam, either swap that panel or reinforce the exterior with a glass repair film. Never rely on silicone alone to patch a structural crack; it’s not built for that job.
Step 3: Build the Bioactive Base
A bioactive terrarium leans on live plants, microfauna (springtails and isopods), and a drainage layer to create something close to a self-cleaning ecosystem. Build it bottom to top:
- Drainage layer (1.5–2 inches): expanded clay pebbles (LECA) or lava rock
- Substrate barrier: fine mesh screen cut to fit, so substrate doesn’t slowly clog your drainage
- Bioactive substrate (3–4 inches): a mix of coco fiber, organic topsoil, sphagnum moss, and leaf litter
- Leaf litter and cleanup crew: dwarf isopods and springtails to process waste before it builds up
- Live plants: pothos, moss, bromeliads, or snake plants, pick based on your species’ humidity needs rather than what looks nice
Step 4: Add Ventilation and Lighting
Fish tanks were never designed for airflow, so retrofit a secure screen lid custom-cut to the tank’s actual dimensions. Vintage tanks almost never match modern standard sizes, so measure twice before you order anything. Pair the lid with:
- A UVB bulb appropriate for your species (critical for most diurnal reptiles, non-negotiable really)
- A low-wattage basking bulb on a thermostat
- A hygrometer and thermometer so you can actually see the bioactive balance instead of guessing
Which Animals Suit an Upcycled Tank?
Some good candidates for a converted vintage tank:
- Crested geckos, they thrive in humid, planted bioactive setups and tolerate the occasional imperfection in a DIY build
- Isopods and springtails alone, honestly a great low-risk starter project if you’re new to bioactive setups
- Small terrestrial frogs like dart frogs, as long as the lid is secure and genuinely escape-proof
- Snakes, though they need more floor space than height, so check your tank’s proportions before you commit to a species
Final Safety Checklist
- No lead solder or rust exposure
- Bleach fully rinsed and cured (48 hours, not 48 minutes)
- Only aquarium-safe silicone used, fully cured 7+ days
- No standing water load resting on old seams
- Secure, species-appropriate ventilation lid in place
Conclusion
A leaky vintage fish tank doesn’t belong in the trash. With careful decontamination, proper resealing, and a thoughtfully layered bioactive substrate, it can become a genuinely beautiful, functional terrarium, one that gives both the old glass and your reptile a long second life.